
Grommet-top patio panels are outdoor curtains with metal or plastic rings punched through reinforced holes along the top hem, so your curtain rod threads directly through each ring. They slide smoothly, hang in clean uniform folds, and hold up to repeated opening and closing better than tab-top or rod-pocket headers. If you want outdoor curtains you'll actually use every day rather than decorative panels that stay put, grommet-top is the practical default.
Grommet Top Patio Panels: Complete Buying & Installation Guide

Lark Perry
12 Jul 2026
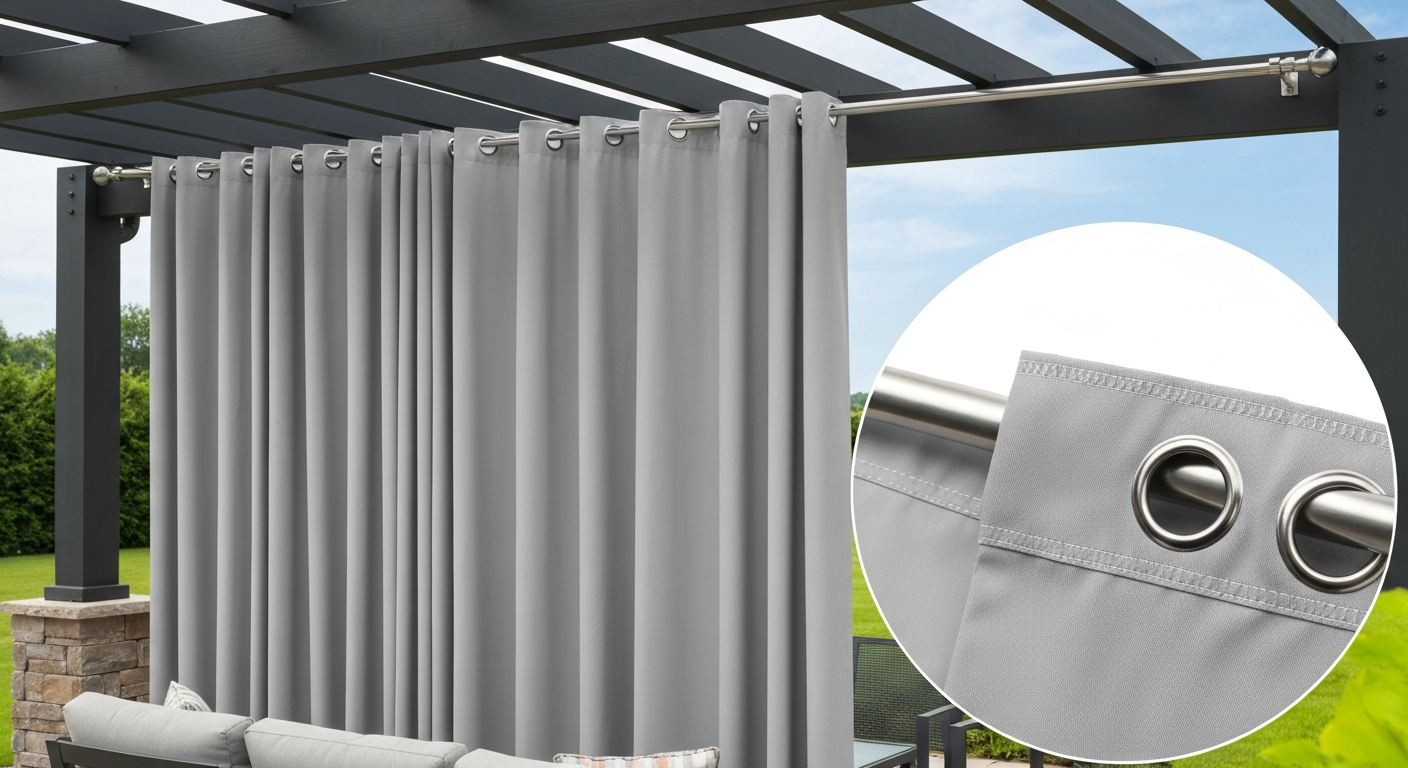
What grommet-top patio panels actually are (and when to use them)
The grommet, sometimes called an eyelet, is a two-piece metal or plastic ring that clamps around a reinforced hole cut into the fabric. The rod passes through each ring rather than through a fabric channel or loop. That direct ring-to-rod contact is what makes grommet panels glide easily and why load is distributed across several reinforced points instead of stressing the fabric itself.
Use grommet-top panels when you want curtains you'll open and close often, when you're going for a modern clean-lined look, or when you need panels that can handle a fair amount of outdoor wear. They're a natural fit for covered patios, pergolas, screened porches, and cabana-style setups. Where they have limits is in very exposed, high-wind locations, a grommet header alone won't anchor the bottom of the panel, so wind can still billow and flap the fabric aggressively. For those situations you'll want to add bottom anchoring, which I'll cover in detail later.
Grommet-top vs. tab-top vs. top-and-bottom grommets: which header wins?
The header style is the single biggest functional decision when buying patio panels. Each has a distinct trade-off between ease of use, wind performance, and visual style.
| Header Style | Ease of Use | Wind Resistance | Look | Best For |
|---|---|---|---|---|
| Grommet-top | Excellent — slides smoothly on rod | Moderate — bottom is free | Clean, modern, uniform folds | Daily use, covered patios, pergolas |
| Tab-top | Good — easy to hang, slower to slide | Low — fabric loops can twist and catch wind | Casual, relaxed aesthetic | Decorative, low-wind enclosed spaces |
| Rod-pocket (sleeve) | Poor for regular use — bunches when pulled | Low — bottom is free, fabric bunches | Traditional gathered look | Rarely-moved decorative panels |
| Top-and-bottom grommets | Moderate — requires second rod or cable below | Excellent — both ends anchored | Taut, architectural appearance | Exposed patios, wind-prone yards, poolside |
Tab-top outdoor curtains have their place in sheltered spots where you're not fighting wind, but the fabric loops can catch a breeze and pull the panel sideways. Rod-pocket headers are really designed for interior use and are frustrating to slide on an outdoor rod that may swell slightly with moisture. For most homeowners putting curtains on a pergola or patio, grommet-top is the best starting point. If your patio gets consistent afternoon wind gusts, step up to top-and-bottom grommets or a bottom-anchored system.
Fabrics and weatherproofing: what the material specs actually mean
Outdoor curtain fabrics are not all the same, and the difference between a panel that lasts two seasons and one that lasts eight years usually comes down to how the fabric was made, not just whether it was marketed as 'outdoor' or 'weather-resistant.'
Solution-dyed acrylic: the gold standard
Solution-dyed acrylic (the category Sunbrella belongs to) is the material I'd recommend for anyone buying patio panels they want to last. The dye is added to the polymer before the fiber is even extruded, so color runs all the way through each fiber rather than sitting on the surface. This is why solution-dyed acrylic holds color so well in UV-heavy environments and resists fading at a level that surface-dyed polyesters can't match. It's also breathable, which matters on a covered porch where trapped humidity can encourage mildew on non-breathable fabrics. Quality awning-grade solution-dyed acrylic runs around 260 g/m² and is rated at lightfastness levels of 7–8 on manufacturer indexes. If a retailer's product page shows AATCC TM 16.3 colorfastness-to-light test data, that's a sign you're looking at a seriously specified fabric.
Polyester and olefin: the budget-friendly tier
Modern outdoor polyesters are often treated with a DWR (Durable Water Repellent) finish or a PU coating to improve water shedding, and UV stabilizers are added during manufacturing. They're significantly cheaper than solution-dyed acrylic and perfectly workable for a covered patio with moderate sun exposure. The honest trade-off is that DWR finishes wear off over time and need to be re-applied, and the UV colorfastness is lower than acrylic, expect more fading after two to three seasons of intense sun. Olefin (polypropylene) sits in a similar tier, with decent moisture resistance and a softer hand feel than many polyesters.
PVC-coated and laminated fabrics: fully waterproof but with trade-offs
PVC-coated or vinyl-laminated fabrics create a true waterproof barrier and wipe clean easily, which is why they're common at poolside and in commercial cabana setups. The downside is that they trap heat, feel stiff, and can crack in cold weather after a few years. I'd only go this route if waterproofing is non-negotiable, a poolside panel that gets constantly splashed, for example.
Grommet hardware corrosion: don't overlook the metal
Even a great fabric is undermined by corroding grommets. Stainless steel grommets (grade 304 for most patios, grade 316 for coastal or saltwater environments) are the right choice for outdoor panels. Zinc-plated or plain steel grommets will rust, staining the fabric and eventually failing structurally. Many budget panels use plated zinc or plastic grommets, plastic can be fine for a covered porch but will crack in prolonged UV exposure. Check the product listing for grommet material before buying.
How to measure: the exact sizing checklist
Getting the measurements wrong is the most common reason patio panels look off after installation. Work through these steps before you buy anything.
- Measure the opening width: measure from bracket to bracket (or from post to post for a pergola bay), recording the total width in inches.
- Apply a fullness multiplier: for a flat, modern look multiply the opening width by 1.5; for a fuller gathered look multiply by 2. This gives you total fabric width needed.
- Divide by panel width: most ready-made panels are 52–54 inches wide each. Divide total fabric width needed by your panel width and round up to a whole number. That's your panel count.
- Measure the drop: measure from where the rod will sit (grommet center, not rod center) down to where you want the hem. For floor-grazing, subtract 0.5 inches; for a puddle, add 2–4 inches; for clearance above a deck surface, subtract 1–2 inches.
- Match to standard lengths: common ready-made lengths are 63, 84, 96, 108, and 120 inches. Check whether the listed 'finished length' is measured from the top of the grommet or the top of the fabric — this varies by brand and affects your actual drop by 1–2 inches.
- Check rod placement height: mount the rod 4–6 inches above the top of the opening (doorframe, pergola beam, or post top) to give the grommets room and keep the panel visually proportioned.
- Account for overlap: if you're hanging two panels that meet in the center, plan for a 2–4 inch overlap so light gaps don't form when the panels are closed.
- Confirm grommet inner diameter vs. rod outer diameter: most retail panels use 1.5–1.6 inch inner diameter grommets, which fit standard decorative rods up to about 1.25 inches in outer diameter. Measure your rod before buying.
Top-only grommets vs. top-and-bottom grommets: choosing the right placement
Top-only grommets are the standard configuration and handle the vast majority of covered-patio situations well. The panel hangs from the rod, folds naturally, and moves freely. The limitation is that a free-hanging bottom edge becomes a sail in wind, even a moderate breeze will push the fabric and eventually stress the top grommets.
Top-and-bottom grommet panels add a second row of grommets along the bottom hem, which threads onto a second rod, cable, or tension wire mounted close to the ground or deck surface. This keeps the panel taut and dramatically reduces wind flapping and stress on the upper grommets. The visual effect is also more architectural, the panel stretches flat rather than draping in soft folds. This is the right choice for exposed patios, side-yard wind corridors, rooftop decks, and any setup where you've had curtains blow around before. For exposed patios, consider outdoor patio curtains with grommets top and bottom to secure both edges and minimize wind flap.
One practical note: top-and-bottom grommet panels are harder to open and close quickly because you have to unhook or slide both the top and bottom. They work better as semi-permanent privacy or wind screens that stay in position for weeks at a time rather than panels you pull open and closed every afternoon.
Hardware and tools you'll need before you start
Having the right hardware on hand before you mount anything saves a trip to the hardware store mid-project. Here's what to gather:
- Curtain rod: stainless steel, aluminum, or powder-coated steel rated for outdoor use; length should extend 6–12 inches beyond the opening on each side to allow panels to stack off the opening when open
- Wall brackets or post-mount brackets: corrosion-resistant (stainless steel or aluminum); most sets include two end brackets and a center support bracket for spans over 48 inches
- Finials: end caps that keep panels from sliding off the rod; choose materials that match the rod and won't corrode
- Concrete anchors or masonry screws (Tapcon-style): required if you're mounting into stucco, concrete, or brick posts; choose stainless or hot-dipped galvanized for outdoor use
- Wood screws: minimum 2.5 inches long for mounting into wood posts, framing, or fascia; exterior-grade stainless or hot-dipped galvanized
- Drill, hammer drill (for masonry), screwdriver, and level
- Tape measure and pencil
- Curtain clips: useful if you want to hang additional lightweight panels, sheers, or liners from the same rod without grommets
- Bottom rod or tension cable (for top-and-bottom systems): stainless steel cable with tensioners and eye hooks, or a secondary lightweight curtain rod mounted at floor/deck level
- Snap fasteners or Velcro tie-downs: bottom anchoring options when a full second rod isn't practical
- Weighted hem tape or curtain weights: sewn into or attached to the bottom hem to add mass and reduce flutter on top-only panels
Step-by-step installation
Step 1: Prepare the mounting surface
Identify what you're mounting into: wood post, concrete post, stucco wall, or metal beam. For wood, confirm the post or fascia is structurally sound with no rot. For masonry, you'll need a hammer drill and masonry anchors. Mark bracket positions in pencil, using a level to confirm horizontal alignment across both end brackets before drilling anything.
Step 2: Mount the brackets and rod
Drill pilot holes, insert anchors if needed, and screw brackets in place. For spans wider than 48 inches, add a center support bracket to prevent rod sag. Slide finials off one end, thread the rod through each grommet in order, then replace the finials and set the rod into the brackets. Check that the rod sits level before tightening any set screws.
Step 3: Hang and adjust the panels
Distribute the panels evenly across the rod, alternating the direction each grommet folds so the fabric creates consistent pleats rather than bunching unevenly. Step back and check that the bottom hem is even across the full width. If one side hangs lower, recheck the rod level, a slight rod tilt is the most common cause. Adjust hem height by folding under extra fabric and using hem tape or iron-on adhesive if the panel is too long, or by raising the rod if panels are too short.
Step 4: Final overlap and stack adjustment
With panels closed, check for light gaps at the center. If you see a gap, slide the panels inward until you have a 2–4 inch overlap. In the open position, push panels toward the end brackets and confirm they stack off the opening rather than blocking part of the view. If panels don't stack back far enough, you may need a longer rod or fewer panels.
Windproofing techniques: keeping panels from flapping and failing
Wind is the biggest functional challenge for any outdoor curtain, and a grommet header alone won't solve it. These are the most effective options, roughly in order of installation effort:
- Weighted hem tape or curtain weights: the simplest fix. Sew or clip small lead or steel weights into the bottom hem to add mass. This dampens flutter on light-to-moderate wind days without requiring any additional hardware.
- Snap fasteners at the bottom: sew the female half of marine-grade snaps to the bottom corners and hem of the panel, and install the male half on the deck surface, baseboard, or post. Quick to fasten and release but holds the panel securely in moderate wind.
- Velcro tie-downs or hook-and-loop anchor straps: attach straps from the bottom corners of the panel to an anchor point below. Less neat-looking than snaps but very easy to retrofit to existing panels.
- Tension cable (bottom cable system): run a stainless steel cable at floor level between two anchor points, thread the cable through bottom grommets on a top-and-bottom panel. This is the most permanent and visually clean solution and provides the strongest wind anchor.
- Second rod at the bottom: mount a lightweight rod at the base of the opening and thread bottom grommets onto it, the same way you'd mount the top. Works well for pergola bays where you have consistent post spacing at top and bottom.
- Side tie-backs or mid-panel straps: in addition to bottom anchoring, adding a tie-back or a strap around the mid-section of the panel prevents bowing in strong gusts.
For rooftop decks or patios in areas with consistent 20+ mph afternoon winds, a full top-and-bottom grommet system with a bottom cable is the only setup I've found that keeps panels in place without constant adjustment. Anything less will eventually stress and tear the top grommets or snap the rod.
Privacy, light control, and style: evaluating what you can't tell from a thumbnail
Outdoor curtains vary widely in opacity. A sheer outdoor panel might block 20–30% of light and provide some visual privacy from a distance but won't obscure shapes. A mid-weight woven panel (the most common category) blocks roughly 50–70% of direct sun glare and blurs visibility through the fabric without creating full blackout. A lined or double-layer panel gets closer to 80–90% light block and provides real privacy. If the product listing doesn't state opacity percentage, look for a description of the lining, a 'thermal lining' or 'blackout lining' signals high opacity, while 'sheer' or 'semi-sheer' means low.
Color and pattern choices also have functional implications outdoors. Lighter colors reflect heat and feel cooler inside the curtained space but show dirt and mildew staining more quickly. Darker colors absorb heat, which can make a closely curtained space feel warmer, but they hide grime better. Patterns (stripes, textures like basketweave) tend to be more forgiving of uneven fading than flat solids. Visual scale matters too: wide stripes or large repeats look proportionate on a tall 96–108 inch panel on a pergola; small prints get lost at that scale and look busy.
Durability checklist: what to examine before you buy
A panel can look great in a product photo and still fall apart in one season. Here's what to look at specifically:
- Stitching density: look for tightly spaced lockstitch seams rather than wide-spaced or chain stitching; seams on outdoor panels should be reinforced at stress points (top hem, grommet reinforcement patches, and hem corners)
- Grommet reinforcement: the fabric around each grommet should have a backing patch or bartack stitching; without it, the hole will tear outward under wind load
- Grommet material: stainless steel is the best choice; zinc-plated will rust within a season in humid or coastal climates; plastic grommets are acceptable in covered, low-UV spots only
- Seam type: flat-felled or French seams are stronger and more weather-resistant than plain open seams on outdoor panels
- Top hem depth: a deeper top hem (3–4 inches) provides more structure and holds grommets more securely than a shallow hem
- Bottom hem weight: a weighted or deep bottom hem improves drape and reduces flutter — look for a hem depth of at least 3–4 inches
- Fabric weight and content: solution-dyed acrylic is the durability leader; check the product spec for fiber content rather than relying on marketing language like 'outdoor fabric'
- Hardware corrosion resistance: if the panel ships with mounting hardware, check that it's stainless or coated; included zinc or bare steel hardware will be the first thing to fail
Pricing guide: what to expect at each budget level
Ready-made grommet-top patio panels span a wide price range, and the price differences generally track real differences in material quality rather than just branding.
| Price Range (per panel) | Typical Materials | Expected Lifespan | Best For |
|---|---|---|---|
| $15–$35 | Basic outdoor polyester, plastic or zinc grommets, DWR finish | 1–3 seasons with moderate sun | Renters, temporary setups, covered low-sun spaces |
| $35–$70 | Better outdoor polyester or olefin, metal grommets, UV-resistant coating | 3–5 seasons | Most homeowners with covered patios |
| $70–$130 | Solution-dyed acrylic or heavy outdoor canvas, stainless grommets, reinforced seams | 5–8+ seasons | Exposed patios, quality-focused buyers |
| $130–$250+ | Custom-cut solution-dyed acrylic, custom sizing, premium grommets, optional lining | 8–10+ seasons | Non-standard sizes, commercial-grade durability needs |
What drives cost up: solution-dyed acrylic fiber, stainless hardware, custom sizing, added liners, and hand-finished hems. What's not worth paying extra for: decorative finials included in the panel price (buy your own separately in the finish you want), brand name alone without supporting material specs, or 'outdoor warranty' language without specifics on what's actually covered.
Care and maintenance: keeping panels in good condition year after year
Routine cleaning
For most outdoor panels, a monthly brush-off with a soft brush or a rinse with a garden hose is enough to prevent dirt buildup from embedding in the fabric. For spot treatment, mix a small amount of mild soap (not detergent with bleach for acrylic fabrics, though dilute bleach is fine for mildew on solution-dyed acrylic per Sunbrella's care guidelines) with warm water and scrub gently with a soft brush. Rinse thoroughly, soap residue left in the fabric can attract more dirt and break down finishes faster.
Mildew prevention and treatment
Mildew grows on dirt sitting in fabric rather than on the fiber itself in most quality outdoor textiles. The best prevention is keeping panels clean and ensuring they dry fully after rain, a panel bunched up wet against a post is a mildew invitation. If mildew spots appear, a dilute solution of 1 cup bleach and 1/4 cup mild soap per gallon of water (standard Sunbrella cleaning guidance) will treat it on solution-dyed acrylic. For polyester panels, check the care label first since bleach can degrade some polyester coatings.
Reproofing DWR finishes
When water stops beading up and starts soaking into your polyester or olefin panel, the DWR finish has worn off. The reproof process: (1) clean the panel with a technical cleaner like Nikwax Tech Wash or Grangers Performance Wash to remove contaminants that block DWR adhesion; (2) apply a spray-on or wash-in DWR product (Nikwax TX.Direct or Grangers Repel are widely used) according to product directions; (3) activate the finish with low heat if the DWR chemistry requires it, a short session on low tumble dry or a warm iron through a press cloth on fabrics the care label permits.
Seasonal storage
If you live somewhere with freezing winters, take panels down before the first hard frost. PVC-coated and vinyl panels crack in sustained cold. Even acrylic and polyester panels benefit from being stored clean and dry rather than left outdoors to collect freeze-thaw moisture cycles. Store loosely rolled or folded (not tightly compressed) in a breathable storage bag or fabric bin, sealed plastic bins trap humidity and encourage mildew during storage.
Repairing grommets and seams
Torn grommet holes can be repaired with a replacement grommet kit (available at fabric stores and online) that re-punches and re-sets a new ring through an added fabric patch behind the tear. This extends panel life significantly and is worth doing on otherwise good fabric. Open seams on the side hems or bottom hem can be re-stitched with a heavy-duty thread on a home sewing machine or with a curved needle and waxed outdoor thread by hand.
Where to buy grommet-top patio panels
Big-box home retailers (Home Depot, Lowe's, Target, Walmart) carry the widest ready-made selection in the $15–$60 range, with most panels in standard 52-inch widths and lengths from 63 to 120 inches. These are good options if your opening fits standard sizing and you're working with a modest budget. The trade-off is that product listings at big-box retailers often omit detailed fabric specs, you may need to look up the manufacturer's name separately to find the actual fiber content and UV ratings. For curated selections and reviews of the best outdoor patio drapes, see our guide to the best outdoor patio drapes for recommendations and buying tips. For curated recommendations and top picks, see our guide to the best outdoor curtains for patio.
Specialty outdoor textile brands (Sunbrella-branded panels through retailers like Pottery Barn, Ballard Designs, or direct outdoor fabric suppliers) offer better material specs and longer warranties, generally in the $70–$150+ per panel range. These listings usually include fiber content, lightfastness ratings, and care documentation.
Custom panel makers (Etsy shops specializing in outdoor curtains, local awning and canvas shops, or online custom curtain services) are the right call when your opening is non-standard, you want a specific fabric like Sunbrella in a color not available ready-made, or you need matching outdoor drapes and panels. Expect to pay $100–$250+ per panel and wait 2–4 weeks for production.
Before buying from any source, check for: fiber content (not just 'outdoor fabric'), grommet material, finished length measurement reference point, grommet inner diameter, whether the listing price is per panel or per pair, and the return policy for outdoor textiles (many retailers won't accept returns on opened outdoor panels). IKEA's LENDA curtains with eyelets list a grommet inner diameter of 1.5" IKEA's LENDA curtains with eyelets list a grommet inner diameter of 1.5"..
How to evaluate specific retail panels: the Quinn Basketweave approach
Panels marketed under names like Quinn Basketweave grommet-top patio panel (sold at large department store chains under different house brands) are a good example of how to decode a retail product page to confirm suitability. The basketweave texture description tells you the fabric has a woven structure rather than a printed surface, which generally means better durability and more even fading behavior than a flat printed fabric. For example, the Liz Claiborne Quinn Basketweave grommet-top patio panel combines a durable woven texture with standard grommet sizing, making it a representative model to evaluate using the steps above. But the name alone doesn't tell you the fiber content.
Start with the care label information: if the panel lists machine wash cold or mild soap hand wash, it's almost certainly polyester or a polyester blend rather than acrylic (solution-dyed acrylic panels typically specify mild soap and water cleaning, not machine wash). Check the product page or packaging for the specific fiber percentage, 100% polyester, polyester/acrylic blend, or 100% acrylic are very different products at different price points. Then check the grommet size (1.5 or 1.6 inch inner diameter is the standard, but confirm against your rod). Finally, look for any UV rating or warranty language, a 3-year fade warranty is meaningfully different from no warranty. Applying this framework to any similarly marketed retail panel will tell you more than the brand name or the lifestyle photo.
Troubleshooting common problems
| Problem | Likely Cause | Fix |
|---|---|---|
| Panels sag in the middle | Rod too long without center support, or rod material too thin | Add center support bracket; upgrade to thicker-diameter rod |
| Uneven bottom hem | Rod not level, or panels are different lengths (mixed stock) | Recheck rod level; confirm all panels are the same finished length before hanging |
| Grommets bind or won't slide smoothly | Rod surface rough, or rod diameter too close to grommet inner diameter | Wipe rod with a silicone-based lubricant (not oil); confirm rod is within grommet clearance range |
| Wind flapping and stress tears near grommets | No bottom anchoring on exposed site | Add bottom weights, snaps, or a full top-and-bottom grommet system with cable |
| Premature fading | Low-quality surface-dyed polyester, or no UV inhibitor in fabric | Replace with solution-dyed acrylic panels; apply UV protectant spray as interim measure |
| Mildew spots | Panels stored or left wet and bunched against surfaces | Treat with dilute bleach/soap solution; allow to fully dry before rehanging; improve air circulation |
| Noisy flapping in wind | Panels not anchored at bottom; lightweight fabric | Add weighted hem inserts or snap anchors; consider heavier fabric weight |
| Corrosion stains from grommets | Zinc-plated or steel grommets oxidizing | Replace panel or use grommet repair kit with stainless grommets; prevent by choosing stainless at purchase |
Your final buying and installation checklist
Before you finalize a purchase and pick up a drill, run through this list. It covers every point where buyers typically get tripped up.
- Measure opening width and apply 1.5–2x fullness multiplier to calculate total fabric width needed
- Divide total fabric width by panel width (usually 52–54 inches) and round up to confirm panel count
- Measure drop from rod-grommet center to desired hem position; match to available standard lengths
- Confirm rod outer diameter is smaller than grommet inner diameter (most panels: 1.5–1.6 inch grommet ID; most rods: up to 1.25 inch OD)
- Check fiber content: solution-dyed acrylic for best UV and mildew resistance; coated polyester for budget builds
- Check grommet material: stainless steel for outdoors; avoid zinc-plated in humid or coastal climates
- Identify your mounting surface (wood, masonry, metal) and confirm you have the correct anchors and screws
- For spans over 48 inches: get a center support bracket to prevent rod sag
- For wind-exposed sites: plan bottom anchoring method (weights, snaps, cable, or second rod) before hanging
- Confirm listing price is per panel vs. per pair before completing checkout
- Check return policy for outdoor textiles before buying multiple panels
- After installation: treat DWR panels with reproof product if water doesn't bead; store panels clean and dry before winter
FAQ
What is a grommet-top patio panel (eyelet outdoor curtain)?
A grommet-top patio panel is an outdoor curtain with reinforced holes (grommets or eyelets) inserted along the top hem so a rod passes through the rings. Grommets distribute load across the header and let the panel slide easily for opening and closing. For outdoors they’re offered in weatherproof fabrics and hardware rated for exterior use.
How does grommet-top compare with tab-top and rod‑pocket or top‑and‑bottom grommet systems?
Grommet-top: smooth sliding and durable header for regular use. Tab-top/rod‑pocket: simpler look but can bind on the rod and concentrate stress on fabric; better for decorative/light use. Top‑and‑bottom grommet (or bottom‑anchored) systems: add lower grommets or a bottom attachment to anchor panels for much better wind resistance — recommended for exposed patios or windy sites.
Which fabrics are best for outdoor grommet panels?
Solution-dyed acrylic (e.g., Sunbrella or equivalent) is the gold standard: excellent UV/colorfastness, mildew resistance, breathability and long life. Polyester/olefin with DWR or PU coating is economical but generally has lower UV resistance and lifetime. PVC-coated/vinyl fabrics are fully waterproof and easy to clean but less breathable and can be stiff — used where waterproofing is essential.
What hardware materials should I choose for outdoor grommet panels?
Use corrosion-resistant hardware: stainless steel (304 or 316 for marine/coastal exposure), or marine-grade brass. Zinc/alloy plated and plain steel corrode faster outdoors. For coastal salt exposure choose 316 stainless. Ensure curtain rod/pole diameter fits the grommet inner diameter (see grommet sizing).
What are common grommet inner diameters and why do they matter?
Common retail grommet inner diameters are about 1.5–1.6 inches (≈38–40 mm). They’re sized to fit typical decorative rods up to ~1.25" OD. Always compare the panel’s grommet inner diameter to your rod’s outside diameter before buying to ensure smooth operation and fit.
How should I size panels for my patio opening (width and length checklist)?
Width: measure the total opening width between mounting points. Multiply by 1.5–2× for fullness (1.5× for a flatter modern look, 2× for fuller gathers). Divide required total width by panel width (typical retail panel ≈52–54" wide) to get panel count. Length: measure from the rod center (hanging point) to desired drop point (floor, sill, or below rail). Confirm the listed finished length is measured from grommet center or top edge as specified.
Next Articles
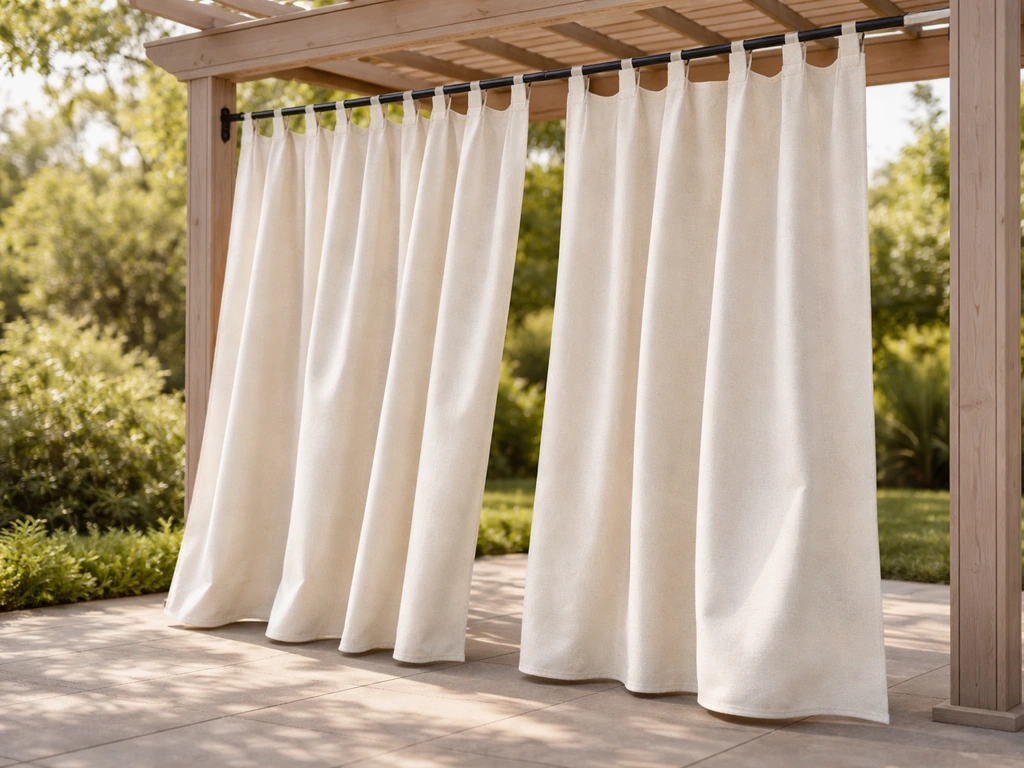
Tab Top Outdoor Patio Curtains: Buying, Sizing, Setup
Buy and size tab top outdoor patio curtains with weatherproof fabric, installation steps, and maintenance for lasting pr
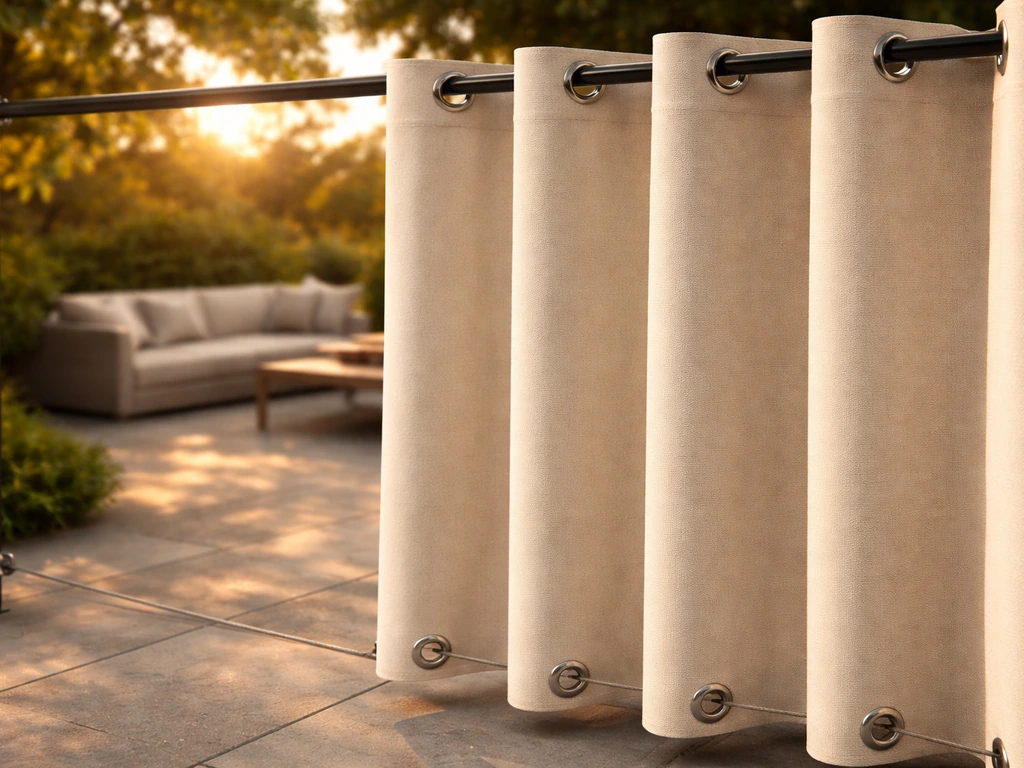
Outdoor Patio Curtains with Grommets Top and Bottom: Guide
Buying guide for outdoor patio curtains with grommets top and bottom, including sizing, installation, weatherproofing, a
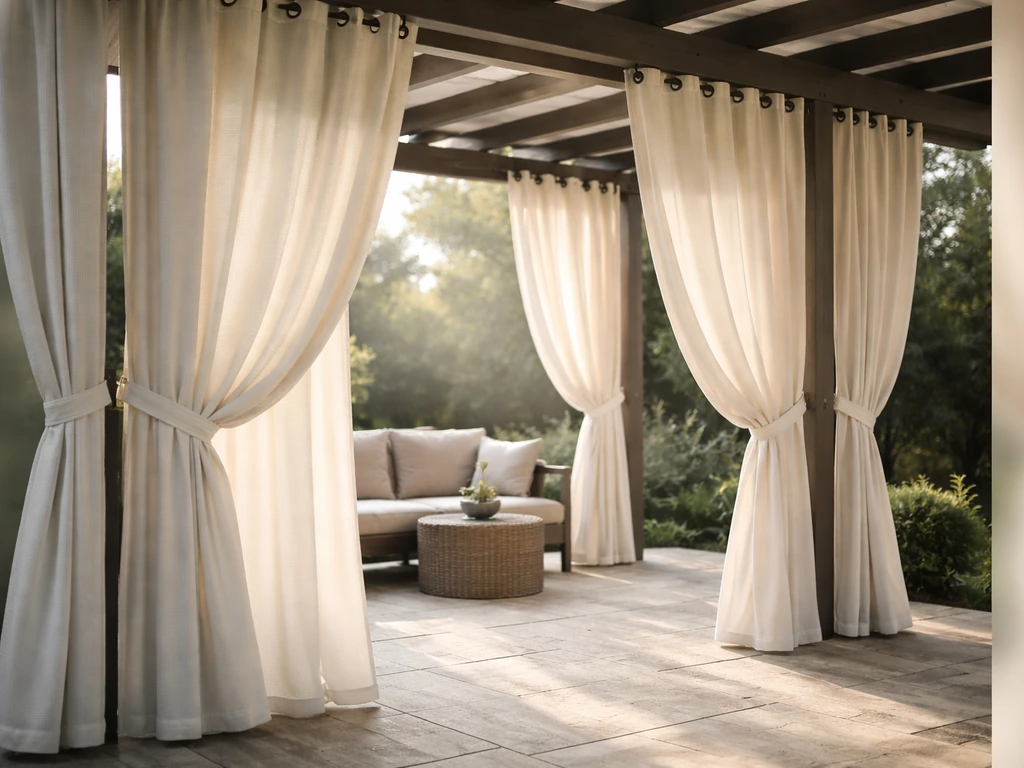
Best Outdoor Patio Drapes Buying Guide for Any Setup
Choose the best outdoor patio drapes with weatherproof fabrics, privacy and wind control, plus size and hanging tips.