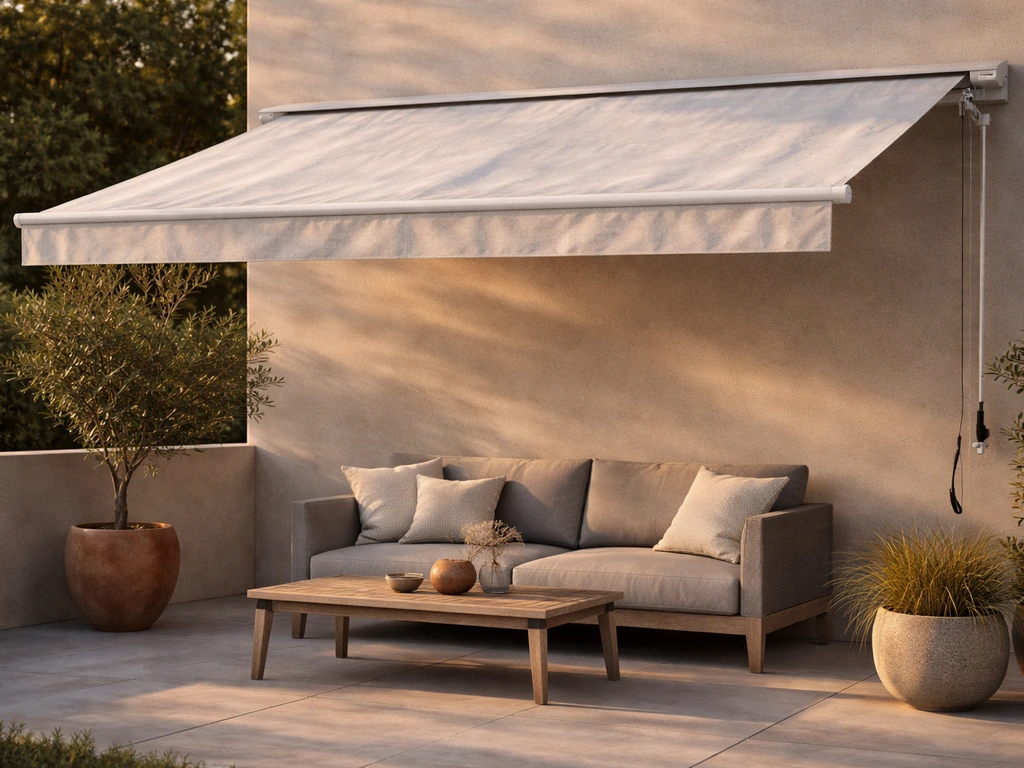
An Outsunny manual retractable patio awning is one of the most practical shade upgrades you can make to a patio, and if you measure carefully, mount it level, and treat it right, it will last for years. The core process comes down to four things: know your patio width and how far out you need shade, mount the brackets on a solid, level surface that can hold at least 42 lbs, use the crank handle to extend and retract the canopy, and retract it any time the weather turns. That covers 90% of what you need to know. The rest of this guide walks through each step in enough detail that you can go from measuring your patio today to sitting under shade tomorrow.
Outsunny Manual Retractable Patio Sun Shade Awning Guide
Lark Perry
11 Jul 2026
What an Outsunny manual retractable awning actually is
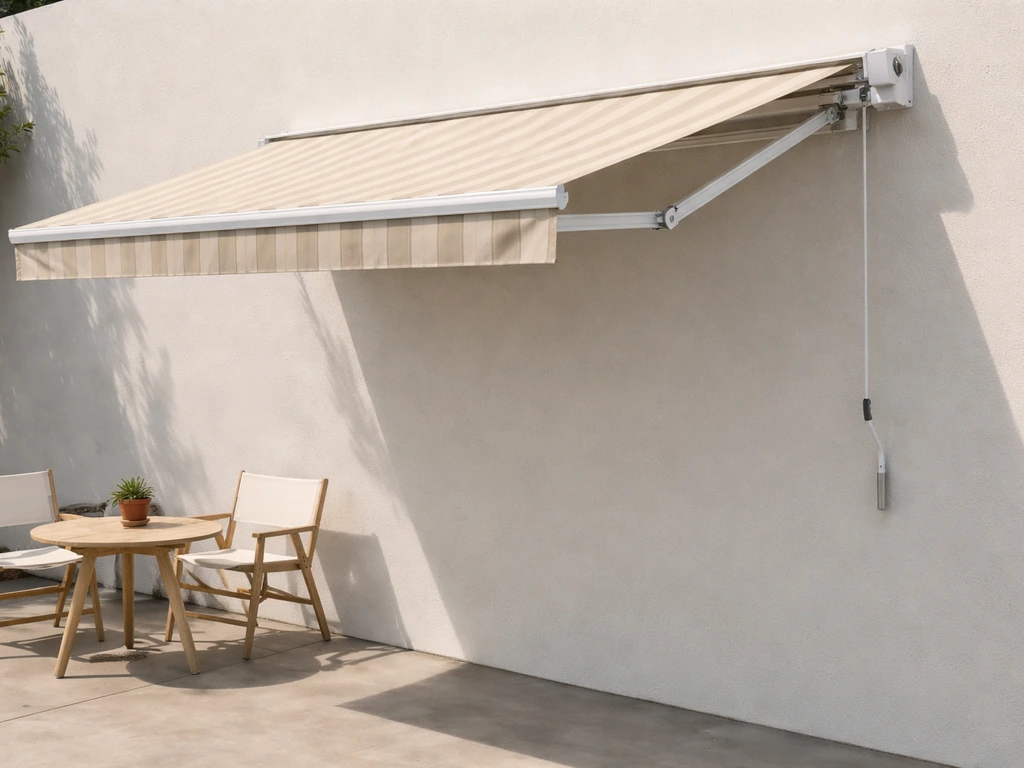
A manual retractable patio awning is a wall-mounted or ceiling-mounted fabric canopy that you extend and retract by hand using a crank handle. Outsunny builds these with an aluminum and steel frame, retractable support arms, and a polyester fabric canopy coated with polyurethane for water resistance. On most models, including the popular 10' x 8' SKU 840-150CW and the 13' x 8' SKU 840-151CF, the fabric is 280 g/m² (grams per square meter), which is a solid mid-weight that handles light rain and provides UV30+ sun protection. That UV30+ rating means it blocks the majority of UV rays, which makes a real difference if you're sitting outside for hours.
The mechanism is simple: a pair of articulating arms fold flat against the wall when retracted and extend outward when you crank them out. The arms are telescopic, meaning you can adjust their length and angle using a locking screw to change how far the canopy projects and at what pitch. Most Outsunny manual models allow tilt adjustment between 45 and 85 degrees, which lets you dial in the angle based on where the sun is hitting your space. The crank handle inserts into a designated loop on the awning body, and you turn clockwise to extend, counter-clockwise to retract. It is low-tech, but it is reliable and requires no electricity or remote.
One thing worth setting expectations on: these awnings are designed for sun protection and light rain, not for heavy downpours or strong winds. Outsunny is explicit about this in the product manuals. Water can pool in the fabric during a heavy storm and damage both the fabric and the frame, and strong gusts can stress the arms and mounting brackets badly. If you are looking for something that handles serious weather, a motorized awning with a wind sensor or a permanent pergola structure is a better fit. If you want the convenience of automated operation, look at motorized patio awnings designed for easier use and often include features like sensors motorized awning with a wind sensor. That said, for everyday sun blocking and staying comfortable during a light drizzle, these Outsunny models do the job well.
Measure your patio before you buy anything
Getting the size right before you order saves you from returning a heavy 40-pound package. There are two key measurements: width (how wide your patio is, or the span you want covered) and projection (how far out from the wall the awning will extend). Width is easy to measure with a tape measure along the wall where you plan to mount. Projection is a bit more nuanced because it depends on where the sun hits and how deep your seating area is.
Width measurement
Measure the full width of the area you want shaded, then choose an awning that matches or slightly exceeds that number. Outsunny's 10' x 8' model (840-150CW) measures 116.25 inches wide when installed, which is just under 10 feet. The 13' x 8' model (840-151CF) is the next step up. If your patio is 11 or 12 feet wide, go with the 13-foot model rather than trying to stretch the 10-footer. The coverage drop-off at the edges is noticeable if you undersize.
Projection measurement
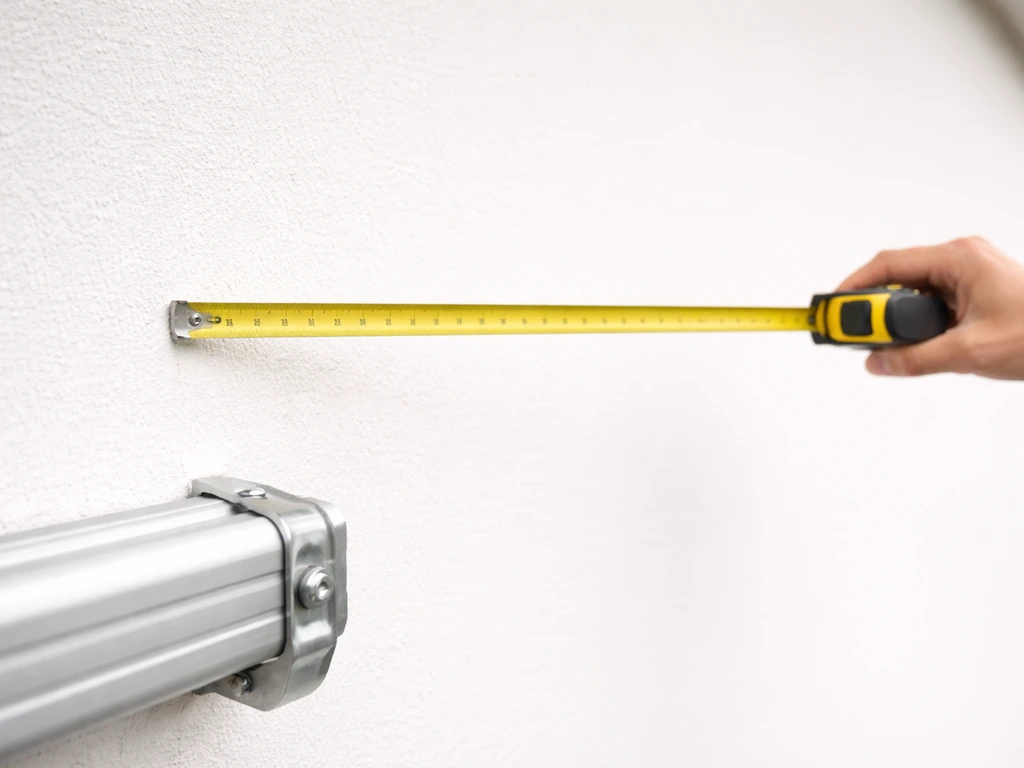
Projection is the depth the awning extends out from the wall, which on an 8-foot projection model gives you up to about 96 inches of outward coverage when fully extended. Measure from your mounting wall to the outer edge of your seating area or table. If that distance is under 8 feet, you are in good shape. If it is more, you may need a deeper awning or to adjust your furniture layout. Keep in mind that the projection also changes with tilt angle: a steeper pitch brings the outer edge higher and slightly reduces effective ground coverage.
Mounting location options
Most Outsunny manual awnings are designed to mount on a vertical wall, ideally a brick, concrete, or wood-framed stucco exterior wall. You can also mount on a soffit or ceiling if the overhang is sturdy enough, though this requires checking the ceiling structure for solid attachment points (studs or blocking) rather than just drywall. The mounting surface needs to hold at least 42 lbs, which is roughly the weight of the unit itself plus the dynamic load when wind catches the fabric. If you are mounting to masonry, you will need expansion bolts. Wood stud walls use lag bolts. Do not mount into soffit fascia alone unless you have confirmed there is solid framing behind it.
Picking the right size and style for your patio
Outsunny makes several manual retractable awning sizes, and the decision mostly comes down to your coverage needs and wall space. Here is a quick comparison of the two most common models to help you decide:
| Feature | 10' x 8' (SKU 840-150CW / 840-264V02BG) | 13' x 8' (SKU 840-151CF) |
|---|---|---|
| Width | ~116 inches (approx. 10 ft) | ~156 inches (approx. 13 ft) |
| Projection | ~96 inches (8 ft) | ~96 inches (8 ft) |
| Fabric | 280g polyester with PU coating | 280 g/m² water-resistant polyester |
| UV Protection | UV30+ | UV resistant |
| Frame | Aluminum and steel | Aluminum supporting bracket |
| Operation | Manual crank handle | Manual adjustable crank handle |
| Tilt Adjustment | 45–85 degrees | Adjustable |
| Weight | ~40.7 lbs | Heavier (2-person install recommended) |
| Best for | Standard patio up to 10 ft wide | Wider patios, larger dining areas |
For most standard patios with a single table and four chairs, the 10-foot model is enough. If you have a sectional sofa or a larger dining setup, go with the 13-footer. Both use 280g fabric, which is the spec that matters most for durability. On color and fabric choice: lighter colors like beige or tan reflect more heat and keep the space underneath cooler, while darker colors provide slightly more UV blockage. Most Outsunny models come in a handful of striped or solid neutral options. Pick one that works with your exterior, but if heat reduction is the priority, lean lighter.
It is also worth noting that if budget is your main concern, the manual crank versions cost significantly less than motorized alternatives. To find the best price patio awnings, compare size, fabric coverage, and mounting requirements across models before you buy. If you want a set-and-forget experience or have limited mobility, motorized patio awnings are worth the extra investment. But for most DIY-minded homeowners who want reliable shade without added complexity, the Outsunny manual crank is a practical middle ground.
How to install it: a step-by-step walkthrough
Tools you will need
- Power drill with masonry or wood drill bits (depending on wall type)
- Level (a 4-foot level is ideal for getting the bracket line accurate)
- Measuring tape
- Pencil or chalk line for marking bracket positions
- Wrench or socket set for tightening bolts
- Ladder or step stool rated for your weight plus tools
- Second person to assist (the unit weighs about 40 lbs and is awkward solo)
Step 1: Mark the bracket line
Decide on your mounting height. Most awnings work best when the top bracket is mounted about 7 to 8 feet off the ground, which gives you clearance when the arms are extended. Use your level to draw a perfectly horizontal line across the wall at that height. This is the most important step: if the line is even slightly off, the whole awning will hang crooked and the retraction mechanism will not work smoothly. Take the extra two minutes to check the level twice.
Step 2: Mark and drill bracket holes
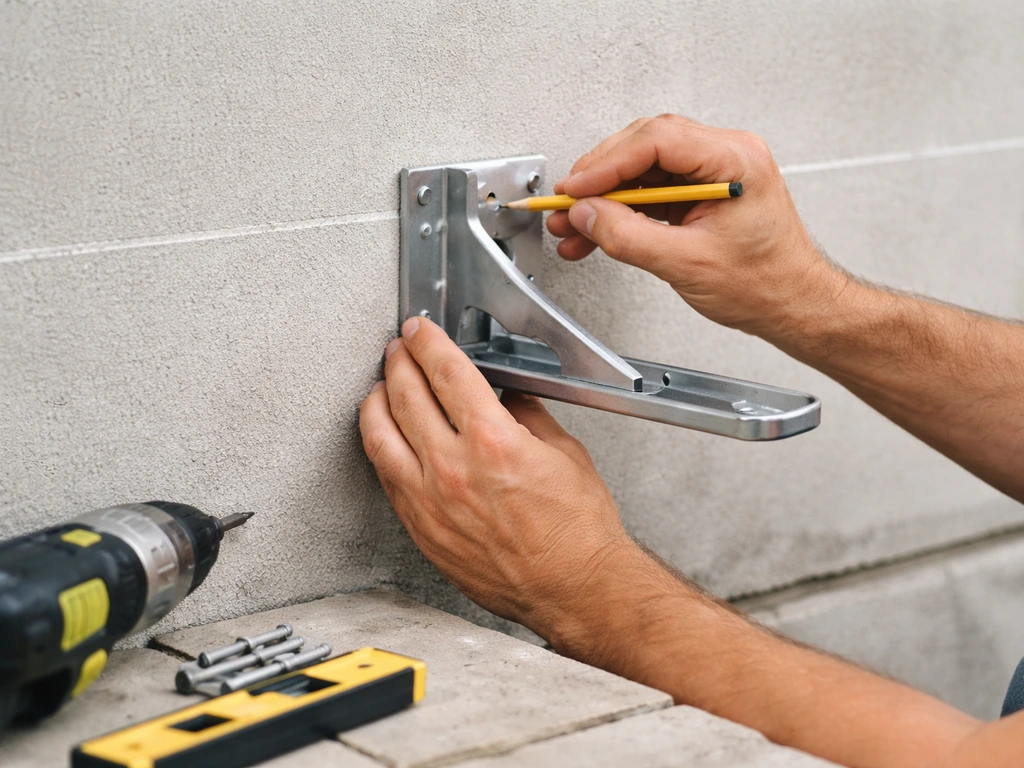
Hold each wall bracket against the level line at the positions specified in your Outsunny manual (usually near each end, with a center bracket on longer models). Mark the hole locations with a pencil. Drill your holes to the depth required for your anchor type: expansion bolts for masonry/concrete, lag bolts for wood studs. If you are drilling into masonry, use the correct masonry bit and clear the dust out of the holes before inserting expansion bolts. Partially set the bolts, position the bracket over them, then tighten fully once you confirm alignment.
Step 3: Attach the awning to the brackets
With all brackets secured, have your helper hold the awning body while you align the mounting slots on the awning frame with the installed brackets. Most Outsunny models use a hook-and-bolt system where the awning slides onto the bracket arms and is then locked in place with bolts. Tighten all connection points firmly but avoid over-torquing aluminum fittings. Give the unit a gentle tug to confirm it is not moving.
Step 4: Adjust the extension arms
Before your first use, adjust the telescopic extension arms to the angle you want. Loosen the locking screw on each arm, set the pitch (Outsunny recommends between 45 and 85 degrees), then tighten the locking screw back down. Both arms need to be set at the same angle or the canopy will sit crooked. This is the most common installation mistake: people eyeball both arms separately and end up with one slightly steeper than the other, which strains the fabric when retracting.
Common installation mistakes to avoid
- Mounting into drywall, fascia, or any surface that cannot hold the weight
- Skipping the level line and eyeballing bracket placement
- Setting the two extension arms at different angles
- Not fully tightening all bolts before extending the canopy for the first time
- Trying to install solo without a helper when the unit weighs over 40 lbs
- Adjusting the internal spring tension without manufacturer guidance (this can cause snapping or injury)
Using it day to day
Extending and retracting the canopy
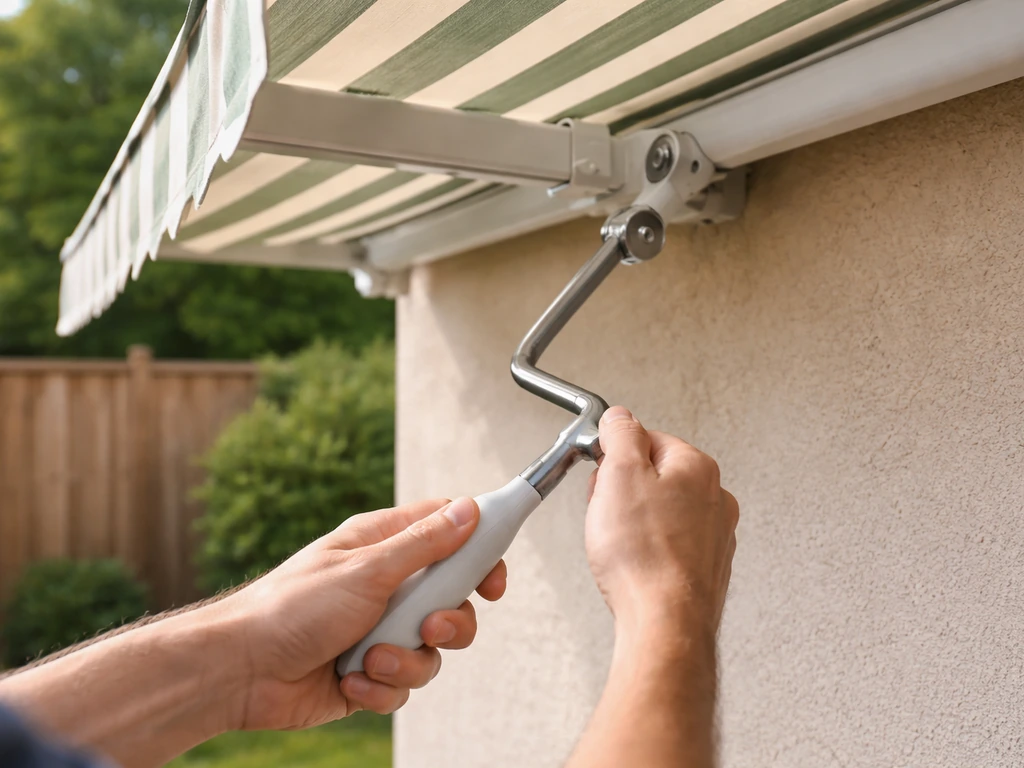
Insert the crank handle into the designated loop or socket on the awning body. Turn it clockwise to extend the canopy out, and counter-clockwise to retract it. The motion should feel smooth and consistent. If you feel grinding or the canopy is extending unevenly, stop and check whether the arms are aligned properly and whether any part of the fabric has caught on the frame. Do not force the crank if there is resistance, as that is usually a sign something is off with arm alignment or a fabric snag.
Adjusting the tilt for different sun positions
On most Outsunny manual models, you can adjust the pitch of the canopy by loosening and resetting the arm angle. A lower pitch (closer to 45 degrees) gives you more overhead coverage and handles light rain better by directing water runoff away from the seating area. A higher pitch (closer to 85 degrees) is better for blocking low afternoon sun coming in from the side. Most people find a mid-range angle around 60 to 70 degrees works for general use, then tweak seasonally.
Wind and rain: know when to retract
This is where the most damage happens. Outsunny's own manuals are clear: these awnings handle light rain and mild conditions, not storms. If sustained wind is above about 20 mph, or if you see heavy rain or thunderstorms coming, retract the awning completely. Heavy rain pools in the fabric, adds significant weight to the arms, and can bend or break the frame. Strong gusts can catch the canopy like a sail and rip brackets from the wall. The rule is simple: when in doubt, crank it in. It takes about 30 seconds.
Keeping it clean and making it last
Cleaning the fabric
A few times per season, extend the canopy fully and wipe it down with a soft brush or cloth and mild soap mixed with water. Avoid harsh detergents, bleach, or pressure washers, as these can strip the polyurethane coating that gives the fabric its water resistance. After washing, rinse the fabric thoroughly with clean water and, crucially, let it air dry completely in the open position before retracting. Retracting a damp fabric and leaving it rolled up invites mildew, which is very hard to fully remove once it sets.
Caring for the frame
Wipe the aluminum and steel parts down with a damp cloth periodically to remove dirt, pollen, and salt (especially important in coastal areas). The steel components, typically the internal spring mechanisms and mounting hardware, are the most rust-prone parts. If you notice surface rust forming on any exposed steel, treat it early with a rust-inhibiting spray or touch-up paint before it progresses. The aluminum frame does not rust, but it can oxidize over time and become chalky; a light application of car wax or aluminum protectant once a year keeps it looking clean.
Seasonal storage and off-season handling
If you live somewhere with harsh winters, retract the awning and consider covering it with a weather-resistant cover or removing it from the wall entirely for storage. Leaving it extended through freeze-thaw cycles accelerates wear on the fabric, the arm pivots, and the mounting brackets. Before winter storage, do a full cleaning, inspect all bolts and pivot points for wear, and apply a light lubricant to any moving metal parts. When spring arrives, check the mounting hardware for any loosening before the first use of the season. A quick 5-minute inspection each spring can prevent a bracket failure mid-summer.
If you find that your needs grow and you want something that handles more weather, automates with a wind sensor, or covers a much larger area, it is worth looking at motorized patio awning options or exploring higher-end shade solutions that are purpose-built for year-round exposure. The Outsunny manual models are a great entry point, but they have real limits when conditions get serious. For most people, though, consistent basic care is all it takes to get five or more years of reliable shade out of these units. For example, the best choice products 98 x80 retractable patio awning is designed to give you straightforward, hand-crank shade that still needs careful measuring and proper mounting.
FAQ
Can I install an Outsunny manual retractable patio sun shade awning on vinyl siding or drywall?
You should not. The mounting surface must be structurally rated and typically a solid wall (brick, concrete, or wood-framed stucco). Vinyl siding and drywall do not provide the required anchor strength for wind loads, even if you find a “stud nearby.”
What should I do if the awning retracts unevenly or the fabric twists?
Stop cranking immediately. Recheck that both telescopic arms are set to the same pitch and that the canopy is sliding onto the brackets without fabric binding. Uneven arm angles are the most common cause, but a caught fabric edge can also make the crank feel “gritty” or harder on one side.
How do I choose the right projection if my seating area isn’t a straight rectangle (chairs are offset)?
Measure from the wall to the farthest point you need covered, not the average chair position. Then verify that when you extend at your planned tilt, the outer edge still clears the deepest seating spot without overhanging into walkways.
Is it okay to leave the awning partially extended in light rain?
For light drizzle it may be fine, but partially extended can increase stress if droplets pool unevenly or the canopy sags. If rain is getting heavier or forecast calls for thunderstorms, retract fully. When in doubt, fully retract is the safer habit.
How can I tell whether I mounted into the right part of the wall (studs, blocking, or masonry)?
Before final tightening, pull-test each bracket lightly by hand (gentle tug, not a full test). If the bracket shifts or the anchor spins, the hold is not solid. On wood, confirm lag bolts bite into studs or proper blocking, and on masonry confirm expansion bolts are fully seated and tightened.
Do I need a helper during installation, and what’s the safest way to position the awning body on the brackets?
Yes, a helper is strongly recommended. Keep the awning level while aligning the frame’s slots to the bracket arms, then secure the connection bolts. Attempting to “hold and bolt” alone often causes misalignment that later shows up as uneven retraction.
What’s the correct way to adjust the arm angle after installation?
Loosen the locking screws on both arms, set them to the same angle, then tighten each screw firmly. Do small changes one at a time, because large angle jumps can shift how the fabric sits and may change the effective coverage and runoff direction.
Can I power-wash the fabric or use bleach to remove mildew?
Avoid harsh detergents, bleach, and pressure washing. If mildew appears, clean with mild soap and a soft brush, rinse thoroughly, and air-dry fully before retracting. If mildew sets while stored damp, it may not fully come out without deeper fabric-specific treatment.
How often should I clean and lubricate the moving parts?
A light wipe-down and cleaning a few times per season is a good baseline, especially after pollen or coastal salt exposure. For lubrication, only apply a light lubricant to moving metal parts before winter storage and confirm bolts are tight after winter, since cold weather can loosen hardware over time.
What winter approach is best if I can’t remove the awning from the wall?
Retract it and keep it retracted through freeze-thaw cycles. If you can, add a weather-resistant cover to reduce ice and debris buildup on the fabric. Also do a full cleaning and inspect pivot points and bolts before the first freeze so you are not storing with hidden wear.
How long should the awning last if I take care of it, and what’s a warning sign that it needs service?
With correct measuring, level installation, and proper retraction during wind or heavy rain, these manual units can provide several years of reliable shade. A warning sign is grinding during cranking, persistent uneven motion, or a bracket that shifts when you give it a gentle tug, which usually indicates misalignment or weakening anchors.
Next Articles
Best Sunbrella Patio Cushions: Top Picks, Guide & Maintenance
Find the best Sunbrella patio cushions: durable, fade‑resistant picks, buying tips, care, and top recommendations.
Alternative to Patio Cushions: Durable, Stylish Options and DIY
Alternative to patio cushions: durable, weatherproof seating options, pros, DIY tips & buying guide.
Best Color for Outdoor Patio Cushions in 2026
Choose the best cushion color for sun, heat, and fading in 2026, with pairing tips for patio furniture and durability.